Note
Access to this page requires authorization. You can try signing in or changing directories.
Access to this page requires authorization. You can try changing directories.
Condition groups let you author and manage multiple conditions in a single node. Existing condition behavior is unchanged, existing voice agent flows continue to work as before, and you can adopt condition groups only where needed. Traditional conditional authoring often required separate condition nodes for each condition. This style of conditional authoring made topic flows harder to review, troubleshoot, and maintain.
Condition groups let you manage conditions for Message nodes, Question nodes, or prompts in one place. They support both table view and graph view.
Manage related conditions in one place
Reduce branching in topic flows
Switch between table view and graph view for easier editing and visualization
Create a condition group
Open a topic.
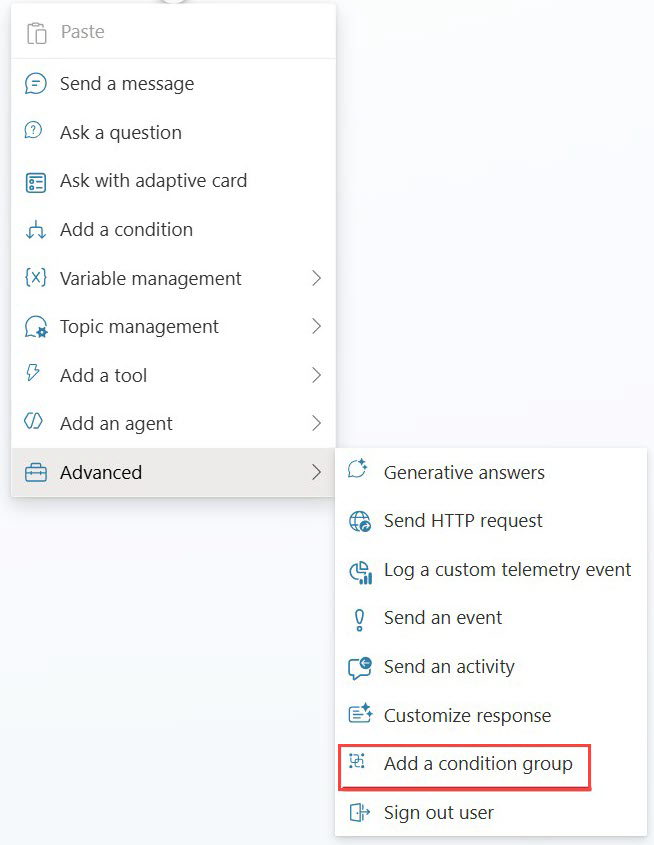
Select Add node > Advanced > Add a condition group.
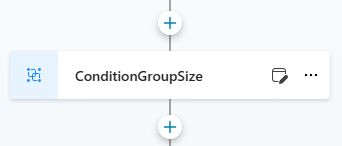
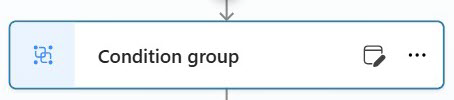
After you add the node, a Condition group node appears on the canvas.
Condition group views
Use these steps to switch an existing condition group to Table view by updating the condition group ID in the code editor.
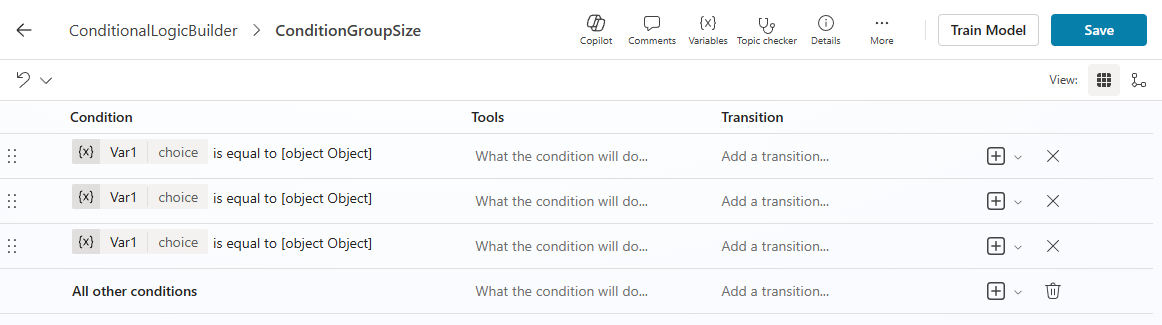
Table view
Displays conditions in a structured table and is optimized for editing multiple conditions. When in Table view mode, you can reorder the conditions using drag and drop.

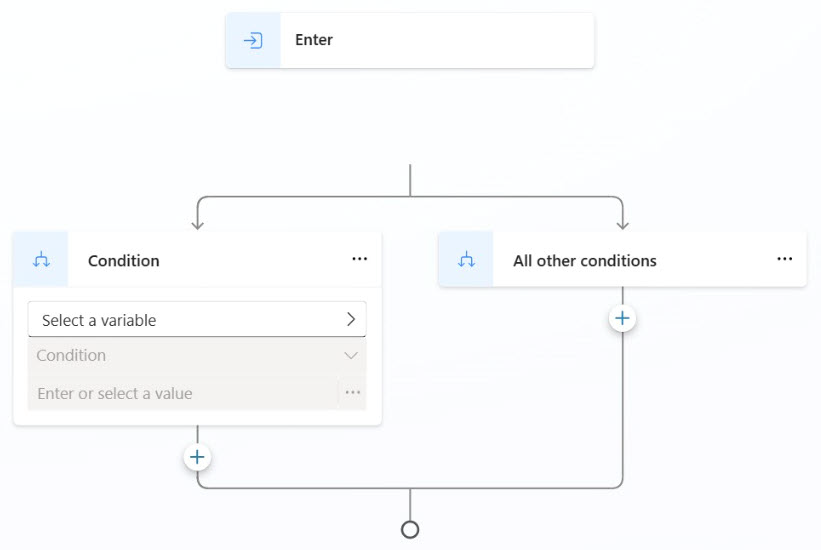
Graph view
Select View > Graph to display a branching layout similar to traditional condition nodes. Changing the view doesn't affect behavior.
Convert existing conditions (manual edit)

Open the topic in the code editor.
Locate the condition group ID.
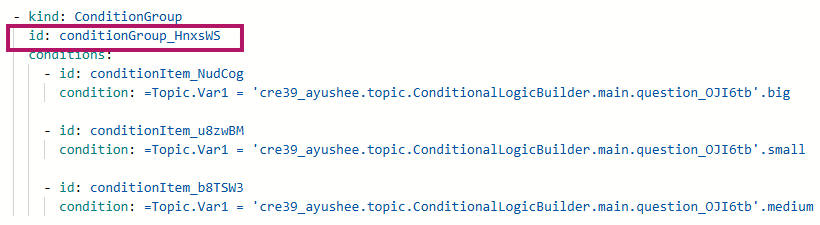
Append
_tvto the ID, save, and close the code editor.
Condition grouping appears in Table view after the change.